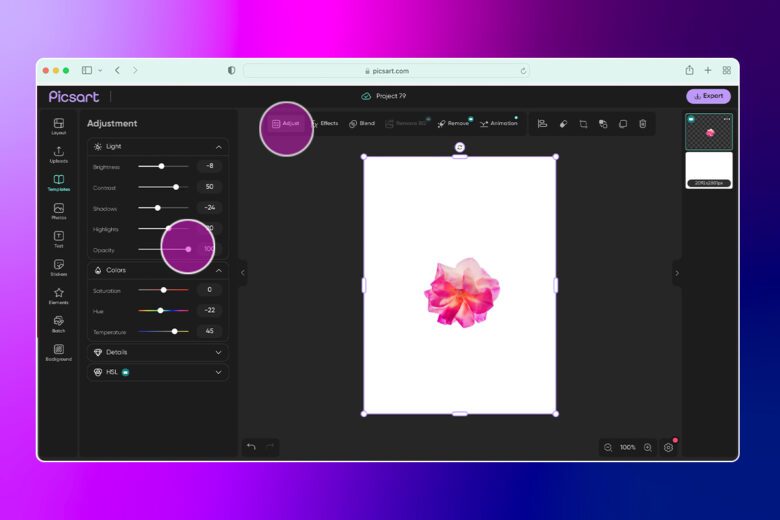
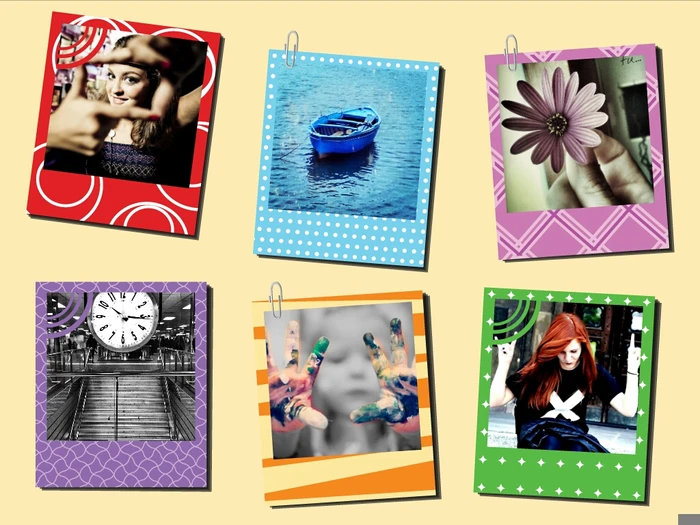
Have you ever wanted to add a personal touch to your photos or create something truly unique? Stickers are a fantastic way to make your photos and designs stand out! PicsArt, a popular photo editing app, makes it incredibly easy to create your own custom stickers. Whether you’re a beginner or someone just looking to have fun, this guide will walk you through the process step by step.

Why Stickers Are Amazing
Stickers aren’t just for fun; they let you express yourself, showcase your style, or even create something to share with friends. They’re perfect for:
- Adding personality to your social media posts.
- Customizing your messages.
- Enhancing your photo edits and designs.
Let’s dive in and create your first sticker!
Step 1: Open PicsArt and Start a New Project
- Download or Open PicsArt: If you don’t have the PicsArt app yet, download it from the App Store or Google Play. It’s free!
- Tap on the “+” Button: This button is located at the bottom of your screen. It opens up the editing canvas.
- Choose Your Image: Select the image you want to turn into a sticker. This could be a selfie, a pet photo, or even a cool design.
Step 2: Cut Out Your Sticker
- Use the “Cutout” Tool: You’ll find this tool in the editing menu. It helps you select the part of the image you want to turn into a sticker.
- Select the Area: Draw around the object you want to cut out. PicsArt also has an “Auto” option that identifies and selects the subject for you!
- Refine the Edges: Use the eraser or brush tool to clean up the edges. Zoom in for more precise edits.
Step 3: Add Creative Touches
- Apply Filters: Make your sticker pop with fun filters like neon, glow, or retro.
- Add Text: Want to say something bold? Add text to your sticker in fun fonts and colors.
- Decorate: Use PicsArt’s wide range of brushes, effects, and overlays to make your sticker even more special.
Step 4: Save and Use Your Sticker
- Save Your Work: Once your sticker looks perfect, tap “Save.” PicsArt gives you the option to save it as a PNG file, which is ideal for stickers.
- Add to Your PicsArt Library: Save it to your “My Stickers” section for future use.
- Use Your Sticker Anywhere: Add your sticker to photos, share it on social media, or send it to friends in messages.
Pro Tips for Perfect Stickers
- Start Simple: Choose clear, high-quality images to make cutting out easier.
- Use Contrasting Colors: Make your sticker stand out by choosing bold colors that pop against your photo.
- Experiment: Don’t be afraid to try new effects, shapes, and styles.
Where to Use Your Stickers
The possibilities are endless! Here are some ideas:
- Social Media Posts: Add stickers to Instagram stories or posts to make them unique.
- Photo Collages: Use stickers to add flair to your collages.
- Custom Gifts: Print your stickers to personalize notebooks, mugs, or cards.
Final Thoughts
Making stickers on PicsArt is not just creative; it’s fun and super easy! You can create anything from playful designs to meaningful art pieces. Best of all, you don’t need to be a professional to make something amazing. So, what are you waiting for? Open PicsArt, follow this guide, and let your imagination run wild. Your unique stickers are just a few taps away!

