PicsArt is a fantastic tool for creating eye-catching designs, but did you know you can make them even better by adding custom fonts? Fonts are essential in giving your work a unique style, matching your theme, and making your designs more professional. In this guide, we’ll show you how to add fonts to PicsArt step by step. It’s so simple that anyone, even a beginner, can follow along.
Why Add Fonts in PicsArt?
PicsArt offers a variety of fonts, but sometimes you need something special to bring your ideas to life. Here are some reasons why adding custom fonts is a great idea:
- Personalization: Custom fonts help make your designs unique and tailor them to your needs.
- Professional Touch: Fonts that match your theme can make your designs look polished and well thought out.
- Creative Freedom: With a custom font, you’re not limited to PicsArt’s default options.
Whether you’re designing for fun or work, using the right font can make your projects truly stand out.
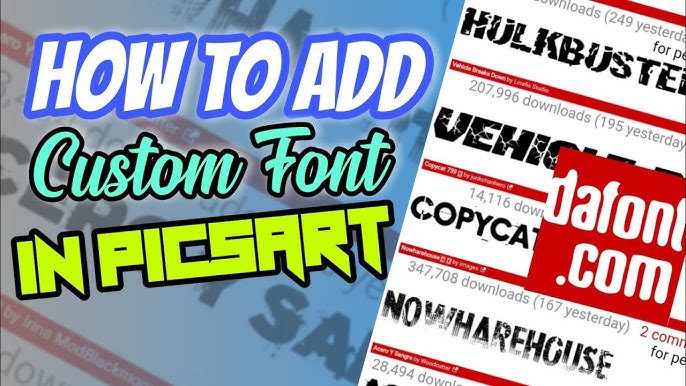
Step 1: Find and Download Fonts
The first step is finding a font that suits your design. There are plenty of websites where you can download fonts for free, including:
- Dafont (dafont.com)
- Google Fonts (fonts.google.com)
- Font Squirrel (fontsquirrel.com)
Once you’ve found the font you like, click the download button. Most font files come in a .zip folder. Make sure you unzip the file to access the font file, which will typically have a .ttf or .otf extension.
Step 2: Install the Font
The next step is to install the font on your device. Here’s how to do it:
- On Android: Save the font file to an accessible location, like the “Fonts” folder.
- On iPhone: Use an app like iFont or AnyFont to install the font.
- On PC or Mac: Double-click the font file and select “Install” to add it to your system.
Once the font is installed, it will be ready to use in PicsArt.
Step 3: Add the Font to PicsArt
Now, let’s bring your custom font into PicsArt. Follow these simple steps:
- Open the PicsArt app and start a new project.
- Use the Text Tool to add text to your design.
- Tap the “Font” option and scroll down to find “My Fonts.”
- Select “Add Font” and locate the font file you downloaded.
- Tap the file, and it will appear in your custom font library.
Step 4: Use Your Font
Your new font is now ready to use! Apply it to your text, adjust the size, color, and style, and watch your design come to life. You can mix and match fonts for added creativity or stick to one font for a consistent look.
Tips for Better Designs with Fonts
- Keep It Simple: Avoid using too many fonts in one design. Stick to two or three maximum.
- Match the Mood: Use playful fonts for fun projects, elegant fonts for formal designs, and bold fonts for attention-grabbing messages.
- Check Readability: Make sure the text is easy to read, especially if you’re sharing your design online.
Final Thoughts
Adding custom fonts in PicsArt is a quick and easy way to make your designs more unique and appealing. Whether you’re creating for personal projects or professional purposes, custom fonts give you the creative freedom to express your style. Download your favorite fonts today and start designing like a pro!